
How to create a project?
Find out how to create a project on Hillseek in order to optimise timesheet entry and management process with each project.
Find out how to create a project on Hillseek in order to optimise timesheet entry and management process with each project.
- Open Projects tab and click Create new project+
- Use the dropdown menu to select the client you are creating a project for. Learn how to add a new client if the client you want isn’t registered on Hillseek
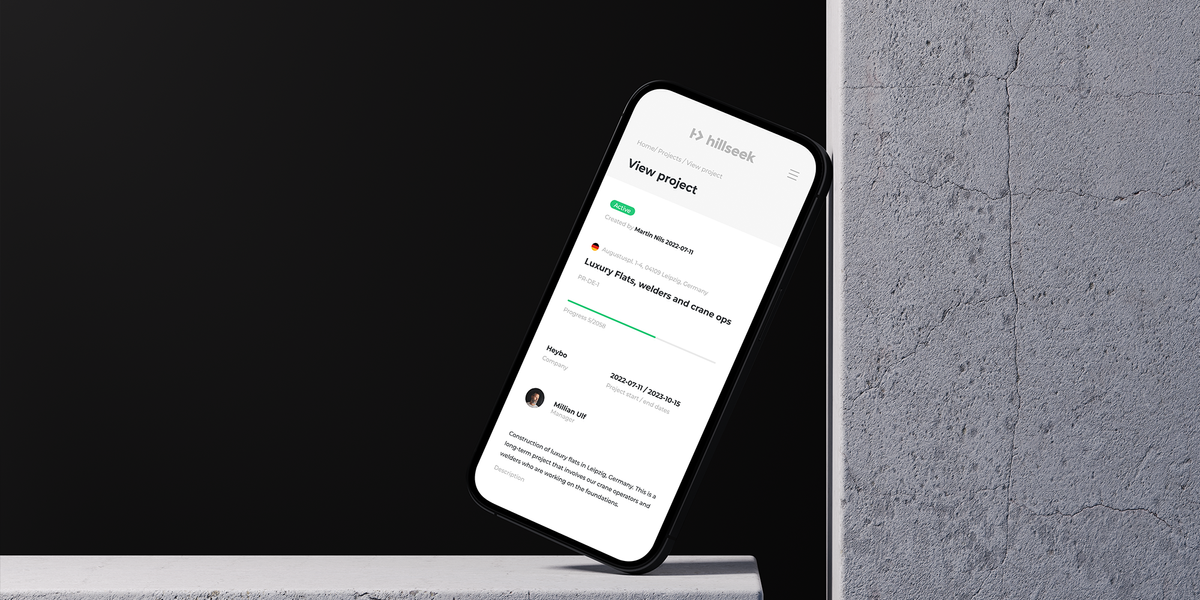
- Use a combination of options to specify other information like Project Name, Address, Start and End dates, etc.
- Use the dropdown menu to assign a manager to a project. Please note that you can assign as many managers as you want
- Use a dropdown menu to select who can submit work hours for this project. Choose Workers, if you want your workers to be notified to submit their own hours for this project. Choose Admin & Leadership Teams, if you don't want workers to get an invite and want team admins to submit hours for this project on their behalf.
Now let's find out how to specify what specialties and workers will be needed for this project.
- Click Add new+ and then choose one of the existing specialties from the dropdown menu. If the required specialty does not exist, please follow these instructions.
- Use + and - symbols or type in the required number workers of that specialty
- Use a dropdown menu to specify what documents worker(s) of that specialty will be required to supply and click Add
- Under Select workers, click on a specialty you want to assign workers to
- Select which workers you want to assign to the project
- If you don’t have enough available workers of one or the other specialty, you can still make the project live and add them later. Alternatively, you can add them straight away by clicking Register worker+
- Specify all the worker details and click Register
- If you still need more workers to complete the required specialties, please repeat 13-15 steps
- To save and make the project live, click Confirm and Publish. However, if you want to save it as a draft, click Save as draft and close
If you are having a problem creating a project:
Please contact support@hillseek.com, and we will be more than happy to help.